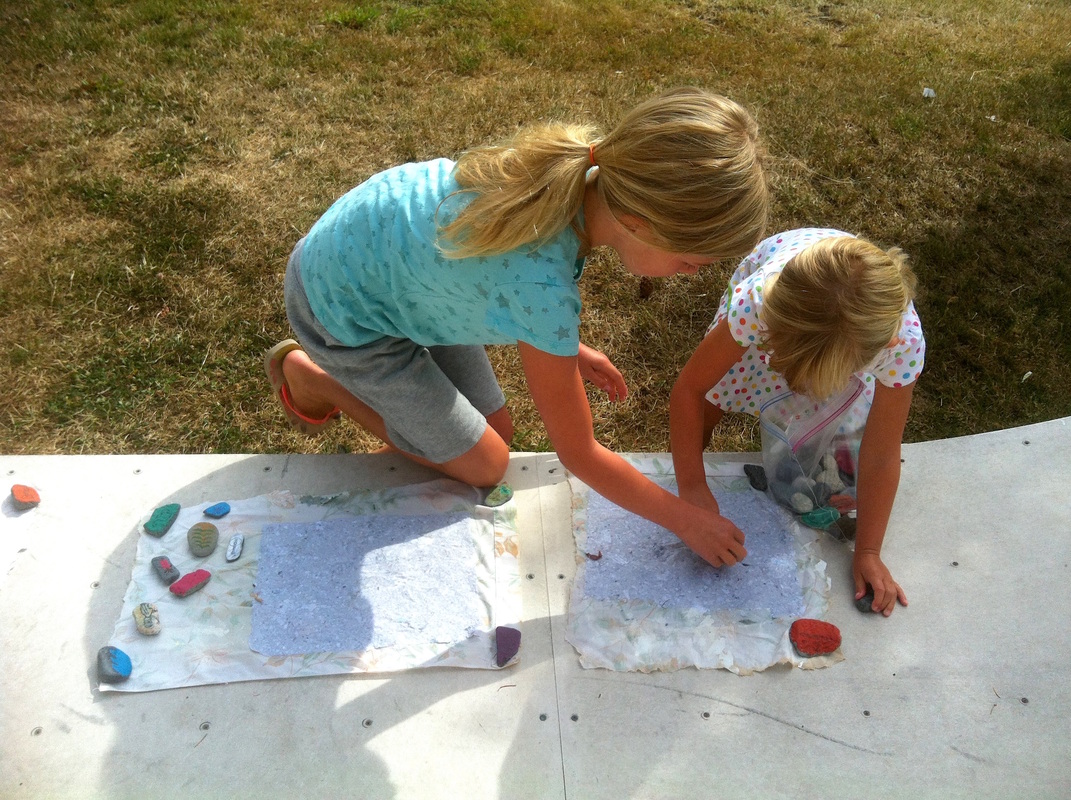
Do something useful. Or should I say; try making some utilitarian art... ;) Being a student, and at times a teacher, I end up thinking a lot about education. I enjoy trying to solve problems and coming up with big ideas surrounding education. The thoughts that occur to me while walking back from class or playing with Gracie are excitingly serendipitous. Here is one that came to me while making paper with these little cuties!
In school, kids are constantly trying to find connections between their history class and how they will use the information at a later date.I know that for some, all they need is to legitimately understand why they are learning what they're learning . If the answer is-'to get good grades' or 'because you need to get caught up'....... then where's the incentive! A child needs to know there is an exciting reason for them to be in school all day.
Maybe one day Ella will ask the question-'Mme, why do we need to know how to multiply fractions if we're not going to need to when we're done school?' The teacher will pause, look kaffufeled from the question and then maybe give Ella an answer that not only satisfies her but gives her something to ponder over during her math class. Then later Gracie will ask the same question that her sister did but perhaps even after many attempts she will find no answer that satisfies her busy brain cells. Here is where the paper making comes in...
When I think of paper making I not only think of the crafty kind that I make, but of the ancient recipes for making paper around the globe. For some, this craft would have been a very special and essential art form that they contributed to their community. Through this process of collecting the ingredients, mashing it up, straining the pulp and drying it, Ella and Gracie get to experience a deeper appreciation for paper. They use it everyday at their craft table and now they can incorporate this paper into one of their projects. By merging a physical process with a lesson it is much easier for a child to understand why they are participating in the exercise. Also, rewards stimulate success and what better reward than something you made yourself? So, here's the recipe my grade 8 art teacher gave me, I hope you and your students enjoy it!
~Recipe for Paper making~
Equipment...
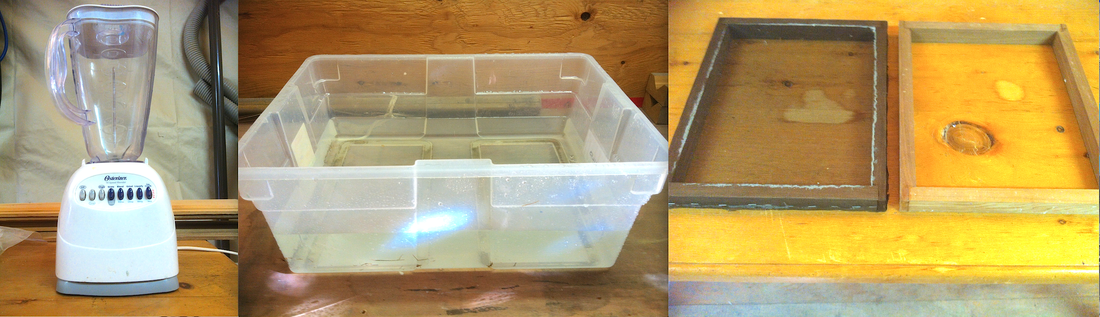
An old blender A box filled with water A screen (can be bought or made)
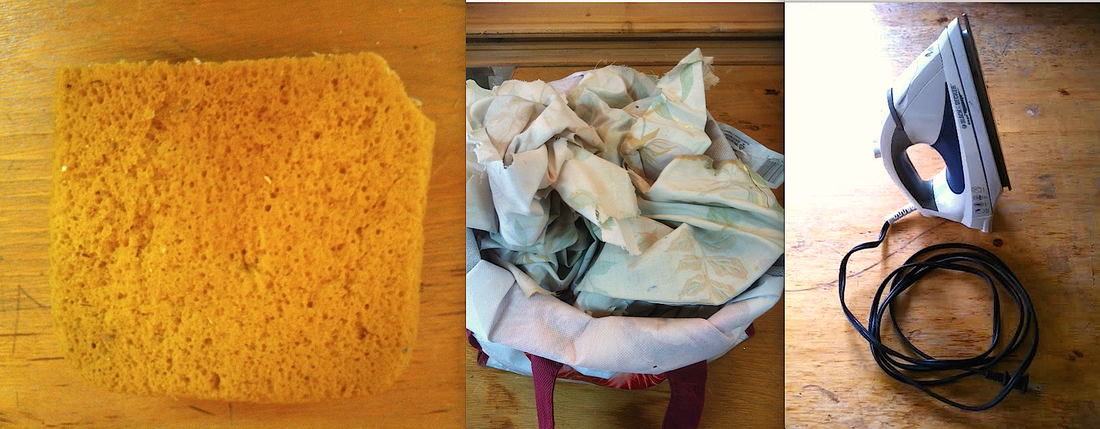
A sponge Thin rags the size of your screen An iron (optional)
Step 1- Find, Rip and Soak your paper
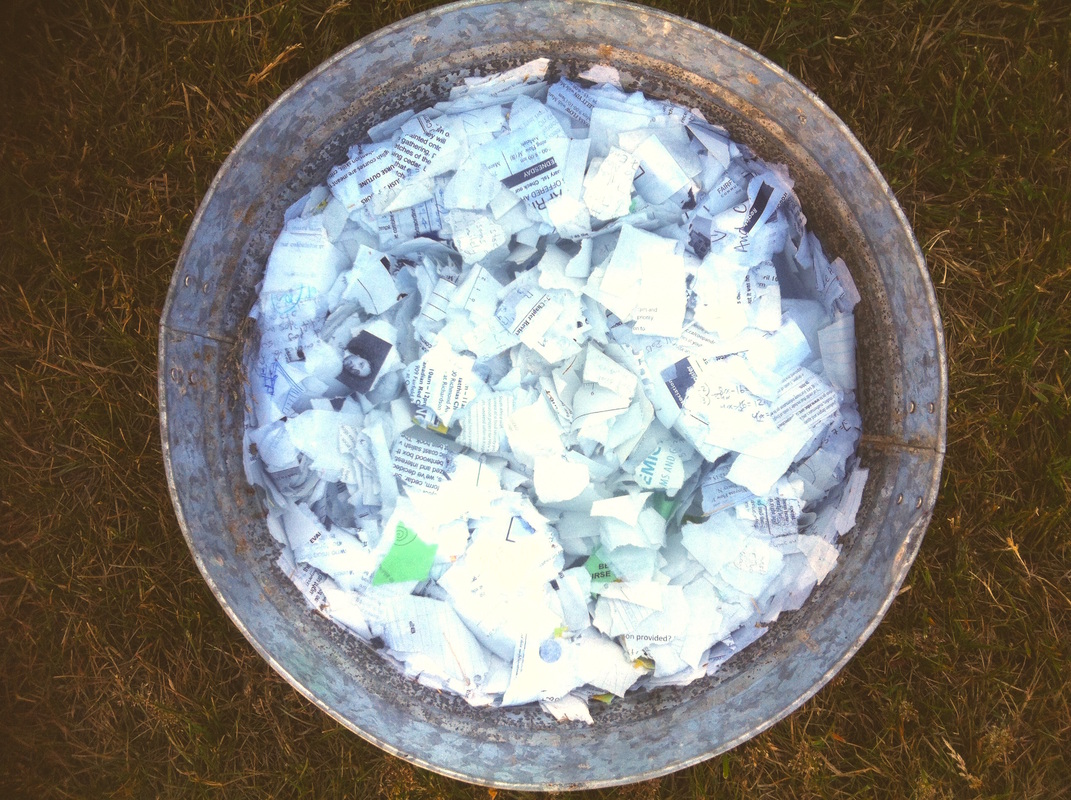
Any paper from your recycling box will do, but keep in mind-the quality and colour of the paper you choose will come out in the final product. And the ripping! This is an important step, but don't stress about it, just rip it up. Finally, you can leave it to soak in a big bowl or bucket overnight.
Step 2- Blend it
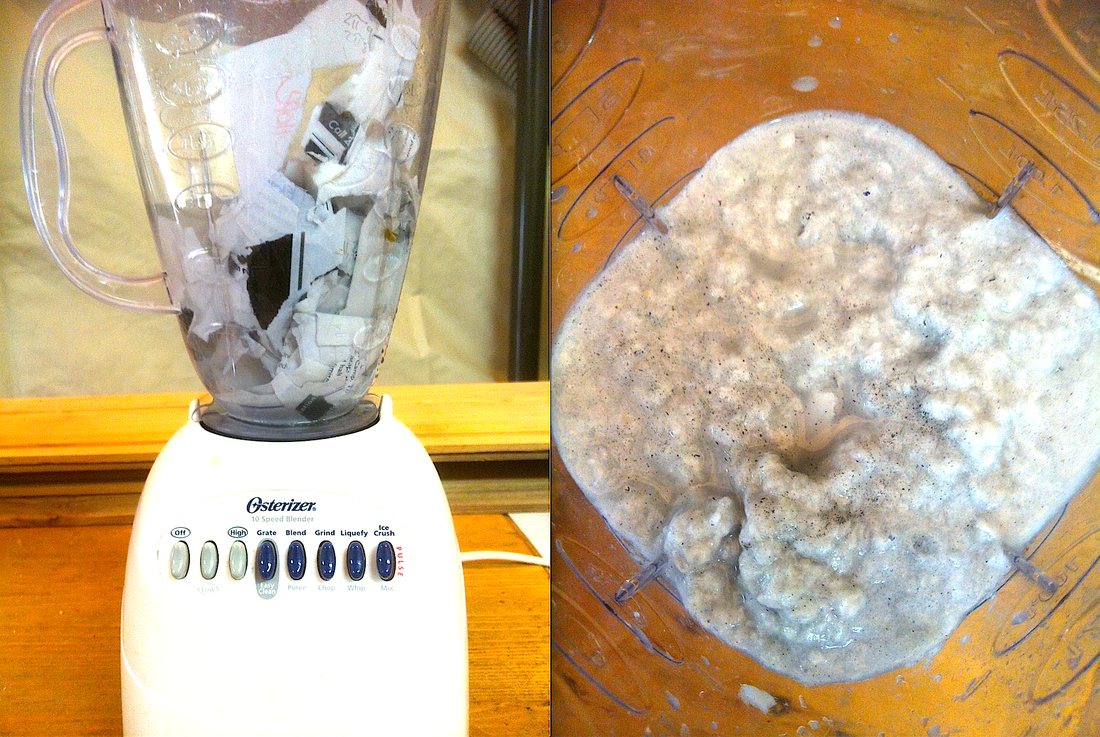
Grab your old blender and put about a handful of the soggy paper into it along with water-just enough to cover the paper. Press blend until you get a good looking slush.
Step 3-Make a mash bath
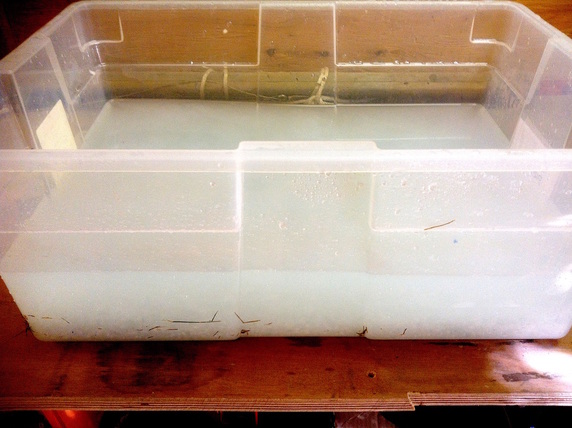
Next, poor your slush into your box filled with water. If you like, you can add grass clippings into the box at this time for an extra naturellle look and better biodegradability. Another option would be sparkles.
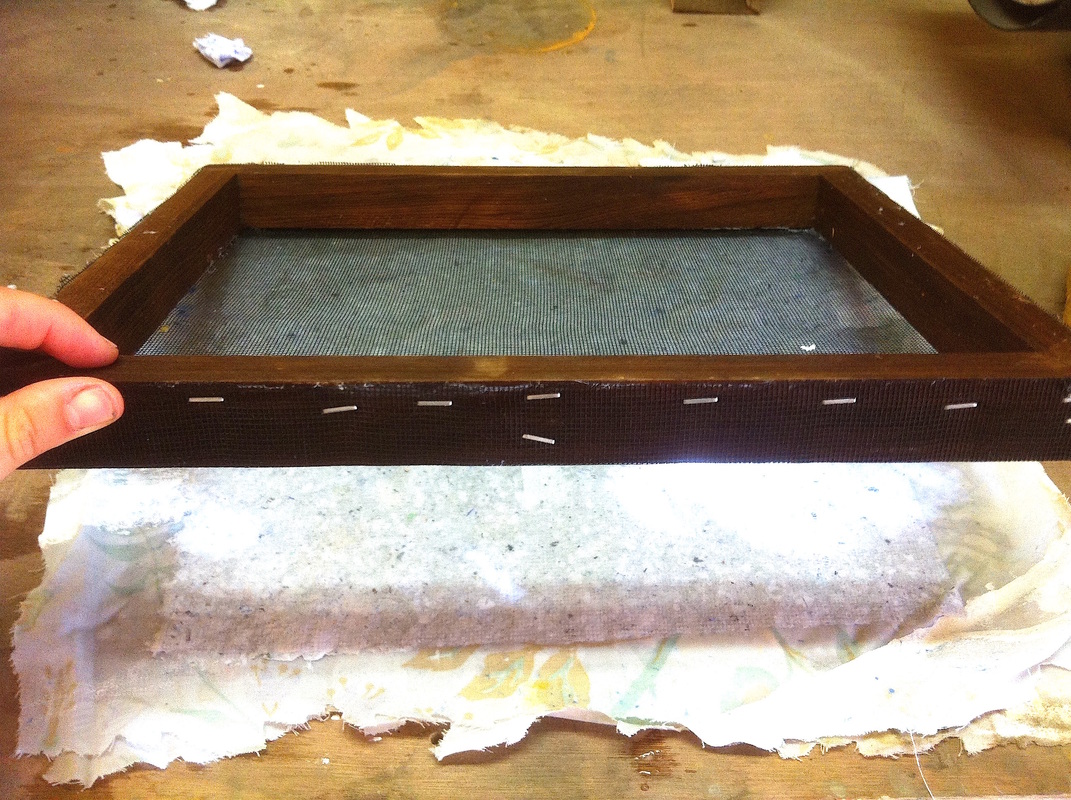
Step 4-Swish and steady
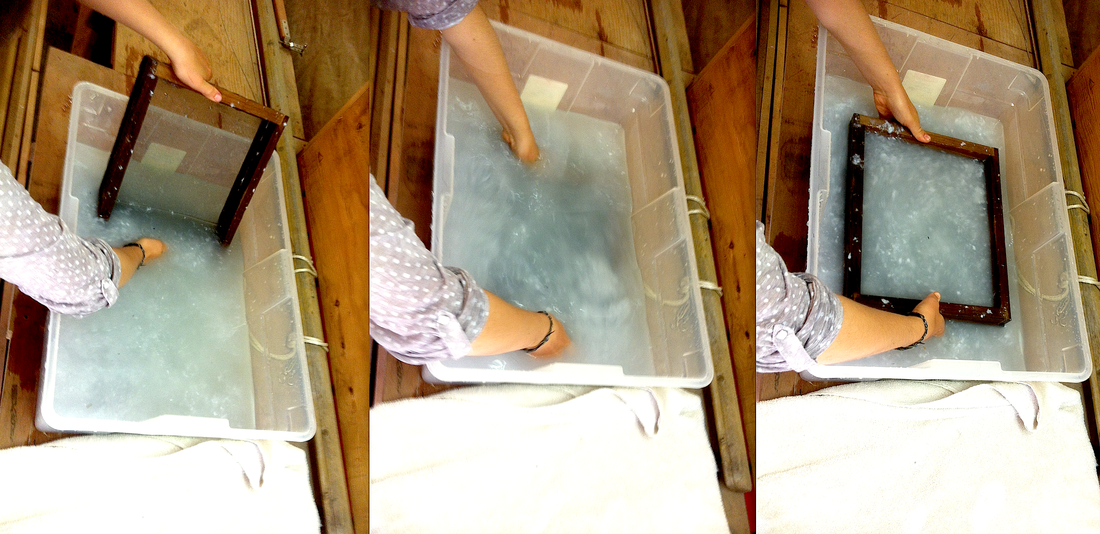
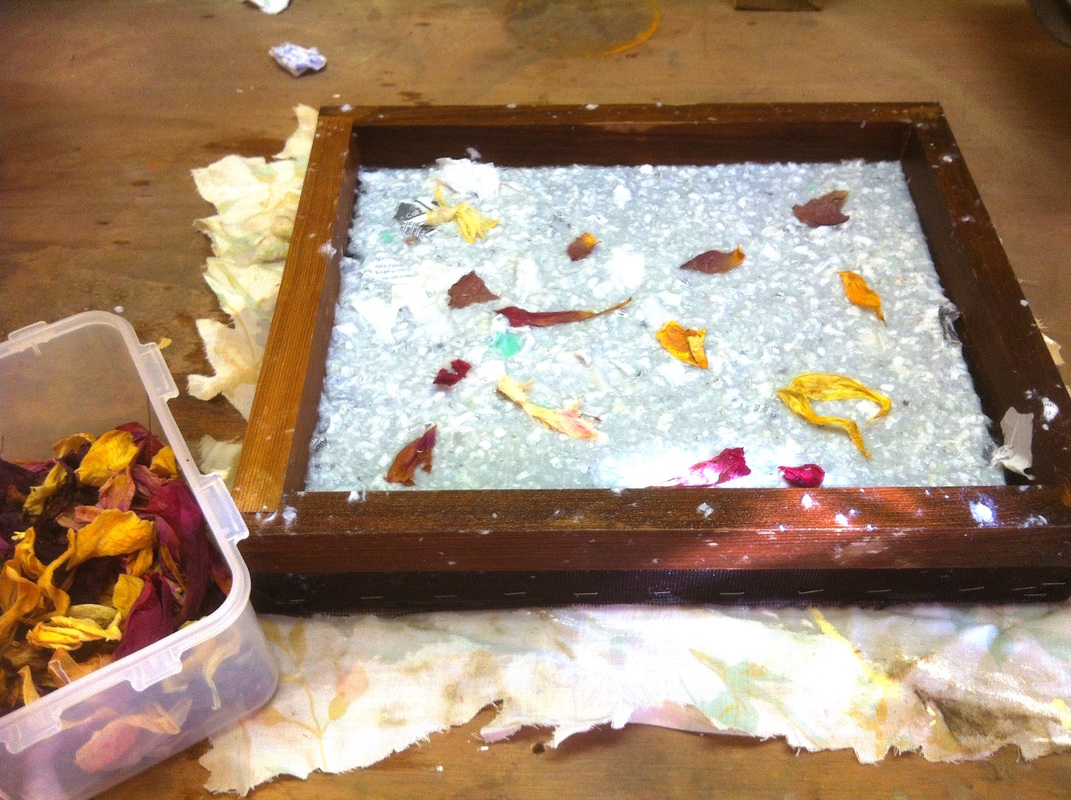
Stack your screens with the mesh frame on the bottom facing up and the empty frame on top. Hold them together tightly as you dip them into the water. Swish the screens around to get the mash moving. Then raise it up and out of the water very evenly.
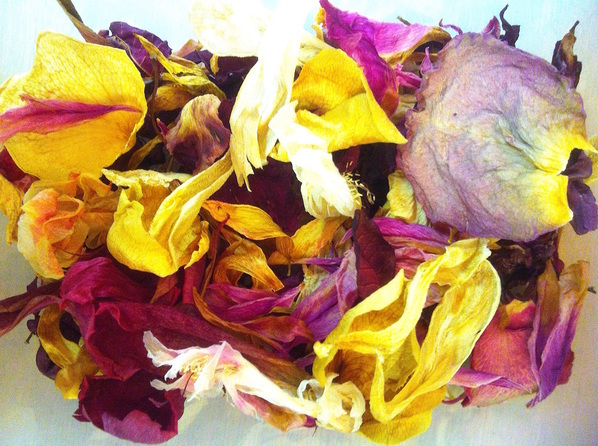
*If you like you can plop flower petals or other flattened treasures into the screen in the third photo.
*If you like you can plop flower petals or other flattened treasures into the screen in the third photo.
Step 5-Flip it
Remove the empty frame and lay one of rags onto the wet mash paper. Swiftly flip it onto a flat surface with the rag facing down.
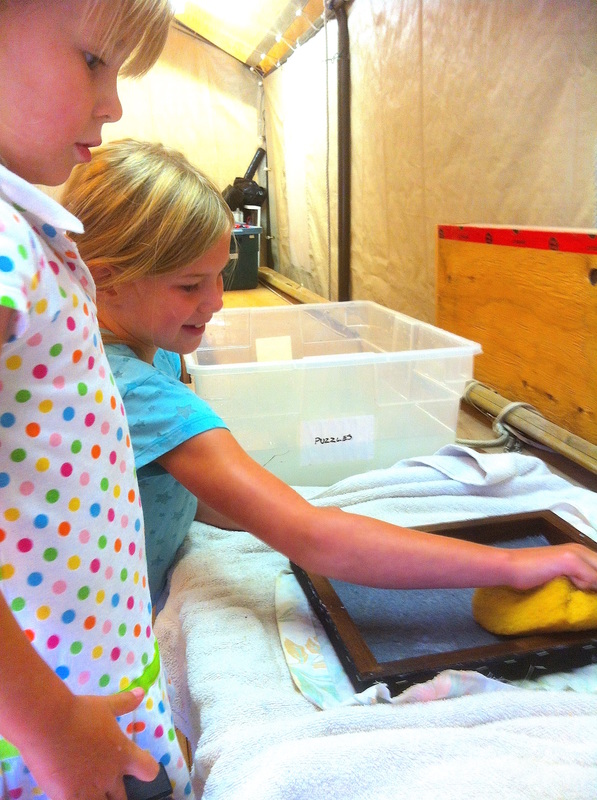
Step 6-Sponge
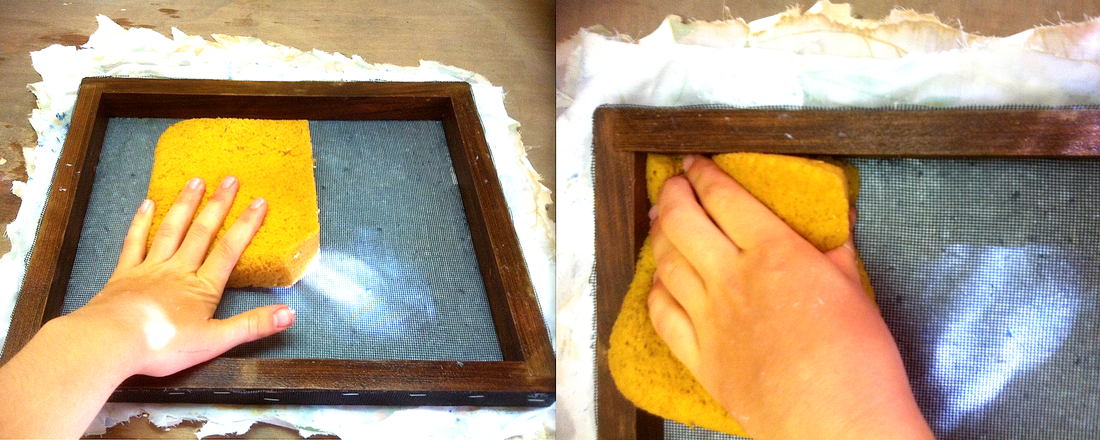
Pick up your sponge and start padding the mesh with it. Make sure to get all of the area, including the corners! Keep doing this and lifting the screen a bit to see if it's sticking. Once it doesn't stick to your paper anymore, it means you've soaked up enough water.
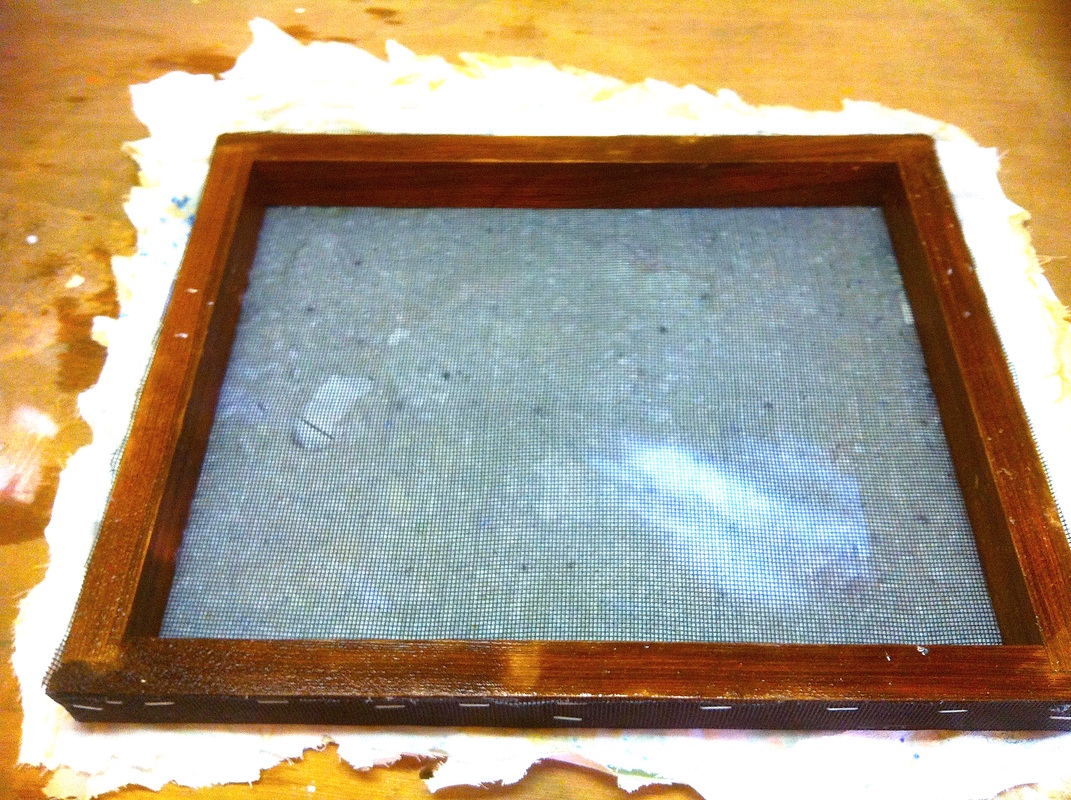
Step 7-Lift the veil!
Slowly lift the screen...
Step 8-To dry
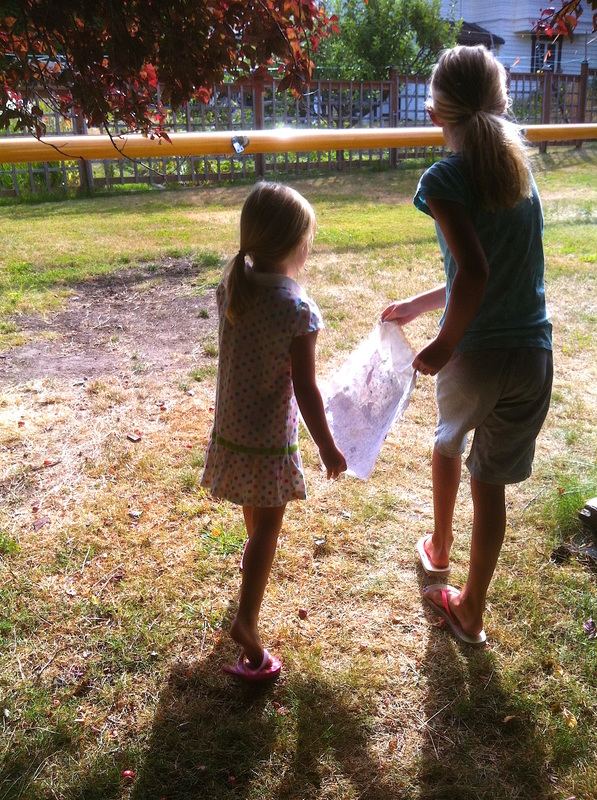
You have two options-if you want your paper to be flat you can lay another rag on top of the paper and iron it. Or if a crinkly piece is what you're looking for, then feel free to leave it in the sun to dry.
I really do hope you enjoy making your own paper like I do! Gratitude to Ella and Gracie for being the stars of the show, Mme Larouche (my art teacher) for teaching me how to do this wonderful thing and all the teachers in my life for helping me to understand why we educate. <3

 RSS Feed
